Introducing Confection Couture's New Custom Monogram and Message Cookie Stencils!
Here's a list of tools featured in this tutorial:
- Custom Graduation Cookie Stencils
- Stencil Genie
- Screen Genie
- Quadrant Masking Tool
- AirGenie Airbrush System
- Cookie Magnets
- DecoPac Airbrush Food Colorants
- Emerald Green
- Super Red
- Midnight Black
- Navy Blue
- Firestone


Each design is available in three choices of overlays.
The first is a simple one-overlay style where all of the design elements are included on one stencil.
This option is perfect for the novice or someone wishes to make many cookies quickly.
Or if you're an advanced stenciler, you can use masking tools or Glad Press'n Seal to isolate individual elements.
Using your stencil tools and chosen colorant, airbrush your custom design.


Option Two includes two overlays, one with the background and frame, and the other with the custom letter or message.
This style is ideal when stenciling with two different colors.
First, airbrush the background and frame using the first color.


Then switch colorant and add the custom letter or message.


Option Three has includes separate overlays for each different element: the background, the frame, and the letter / message.
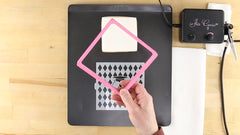
First, place the masking piece in the center of the cookie.
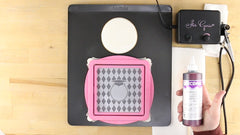
Next, place the background stencil over the masking piece and cookie using the Stencil Genie and Screen Genie.
Airbrush your background color.


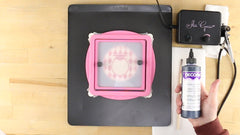
Now, center the frame element over the Stencil Genie and line up within the space on the cookie.
Use two Quadrant Masking Tools to protect the edges of the cookie from overspray.
Load your second color into a clean airbrush tool.


Using your third color, position your final, custom stencil in the center of the frame element.

To create your custom cookie stencils, visit ConfectionCoutureStencils.com today!


