


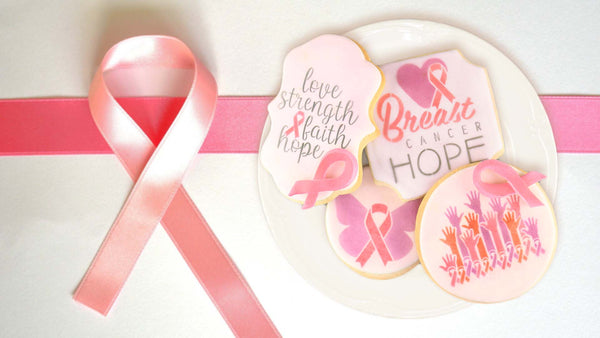
Show your support all while inspiring others to do the same with this "October is Breast Cancer Awareness Month" Cookie Stencil Collection from Confection Couture.
Here's what you'll need:

- Awareness Hands Cookie Stencil
- Breast Cancer Hope Cookie Stencil
- Love Strength Faith Hope Cookie Stencil
- Corner Plaque cookie cutter
- Madrid 2 cookie cutter
- 4" Circle cookie cutter
- 3" Circle cookie cutter
- AirGenie Airbrush System
- Gyro-Cut Craft and Hobby Cutting Tool
- Cookie Magnets
- Plastic Bottle with Dropper Tip
- Quadrant Masking Tool
- Stencil Genie
- Screen Genie
- DecoPac Airbrush Food Coloring
- Midnight Black
- Petal Pink
- Guava
- Eggplant
- Raspberry
- White fondant
- Glad Press'n Seal
- Paper Towels
Getting Started and Creating the 3D Ribbon Elements
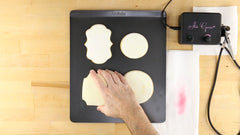
First, bake your cookies, allow to cool, and add white royal icing. There are four different cutters and designs, so plan out how many of each you would like completed.


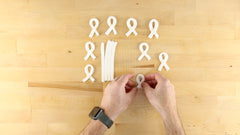


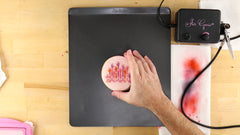
To create the accent ribbons, roll out some white fondant and cut it into a rectangle. Next, make cut it into thin strips that are equal in length and width. Fold each one into a ribbon with the right side crossed over the left side. Then, cut each end straight downwards, keeping each side equal length.
Place on a tray and load your AirGenie airbrush tool with 5-6 drops of DecoPac Raspberry airbrush food coloring. Always test the airflow prior to spraying any cookie components. Adjust as necessary using the knob on the unit. Airbrush the ribbons using small circular motions and multiple light coats.
Cleaning the Airbrush Tool
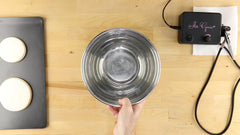

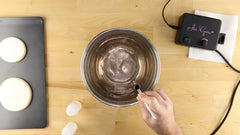
To clean the airbrush tool between colors, rinse out the reservoir three to four times with clean water. Next, reattach the hose, fill the reservoir, and run water through the tool until empty. Repeat once more with water and then again, this time using an inexpensive 100 proof vodka.
Airbrushing the Cookie Background


Now, load the airbrush tool with Petal Pink and, using the above technique, airbrush the background on all of your cookies.
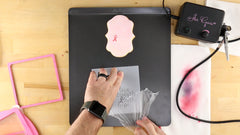
Stenciling: Eggplant


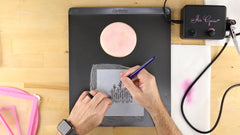
Next, load Eggplant into the airbrush tool and take the 3" circle cookie. Cut a piece of Glad Press'n Seal and place over the first stencil. Flatten out any bubbles or wrinkles. Use the Gyro Cut craft and hobby cutting tool cut around the butterfly wings, but not the accents above and below. Turn the Gyro cutter blade sideways and gently pry up one corner of the trimmed plastic. Peel the cut portion away to reveal the design underneath. You can use the quadrant masking tool to and the Gyro cutter to trim away excess plastic film.
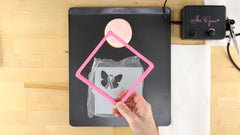


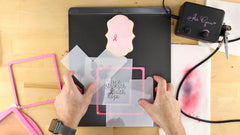
Next, separate the two halves of the Stencil Genie and place the bottom (thicker piece) down with the magnets facing up. Place the stencil on top with the current design centered within the square.
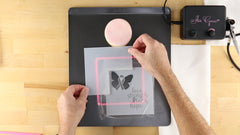

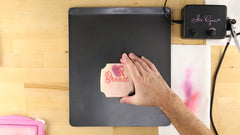
Use the Quadrant Masking Tool to protect the areas of the cookie surrounding the design.


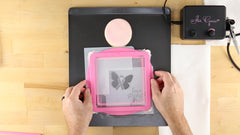
Place the assembled stencil apparatus over the cookie, ensuring that the design is centered. Add two stacks of cookie magnets (four each) to help press the stencil flat against the cookie surface.
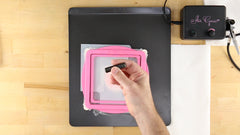
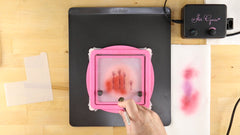
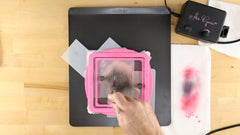
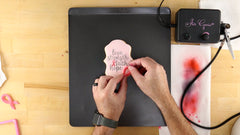
After testing the airflow on the paper towel, spray the color through the stencil using small, circular motions. Once you're satisfied with the amount of color, simply lift the stencil apparatus to reveal your first design!


Repeat the above steps to airbrush the heart design on the next stencil.


Next up are the Eggplant hands on the Awareness Hands stencil.
Raspberry


Now, switch to Raspberry and airbrush the ribbon on the butterfly cookie.


Do the same for the ribbon and the text "Breast" on the next cookie.


Airbrush the ribbon on the last cookie (Madrid 2).


Next up are the raspberry hand elements.
Black

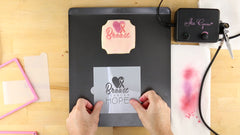


Now, switch to Black and airbrush the "cancer" and "HOPE" text on the corner plaque cookie.


Now, add all of the text to the Madrid Plaque cookie.
Guava


The last color is Guava. Airbrush the remaining hands on the 4" circle cookie.
Adding the Ribbons


Use a small amount of fresh fondant and add it behind the thicker portions of the ribbon. This will act as an adhesive when attaching the 3D ribbon elements.


Do the same for the Awareness Hands cookie and your "October is Breast Cancer Awareness Month" Cookies are complete!
For more tips and ideas, visit ConfectionCoutureStencils.com today.