


If you love beautifully iced cookies but dread the hassle of piping and flooding, dipping cookies in royal icing might become your new favorite trick. It’s quick, efficient, and creates a flawless finish — when done right!
In this guide, we’ll walk through the dos and don’ts of dipping cookies, from icing consistency to avoiding air bubbles, plus the right tools to make your cookies look picture-perfect.
🎨 Flooding vs. Dipping: What’s the Difference?
Flooding is the traditional method — you pipe an outline and fill it with thinned icing, spreading it smooth with a scribe tool. It offers precise control for intricate designs but can be time-consuming.
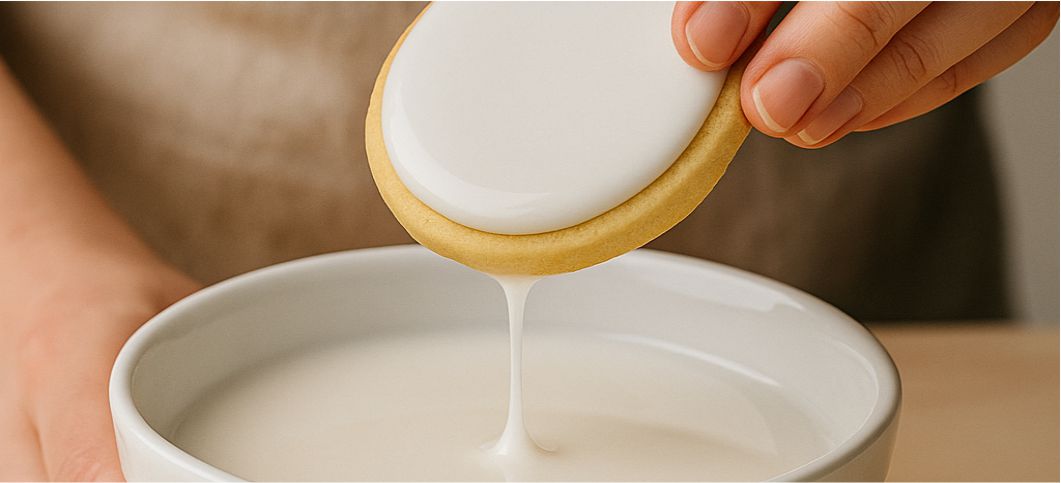
Dipping, on the other hand, is a fast, fuss-free alternative. You simply dip the top of your cookie into icing, lift, twist, and tap to remove the excess. It’s ideal for round cookies or batches that need consistent coverage.
🛒 Pro Tip: Try using our Round Cookie Stencil Sets for perfectly shaped cookies ready to dip and decorate!
🧁 Find the Perfect Icing Consistency
Getting the right icing consistency is the key to success.
-
Too thick? It won’t coat evenly.
-
Too thin? It’ll run right off.
The perfect dipping consistency should resemble warm honey — smooth, glossy, and slow-moving. When stirred, it should settle within about 10 seconds.
💡 Do: Test on one cookie before committing to a batch.
❌ Don’t: Add too much water at once — thin gradually.

🍯 Choosing the Right Bowl
Your bowl can make or break your dipping results.
-
Do: Choose a wide, shallow bowl for easy dipping and swirling.
-
Do: Use glass or ceramic to help maintain even icing temperature.
-
Don’t: Use deep bowls — they make it harder to control icing coverage.
💨 How to Handle Air Bubbles
Air bubbles are common when dipping — but easy to fix!
Here’s how:
-
Pop bubbles with a scribe or toothpick right after dipping.
-
Tap lightly to help the icing settle and self-level.
-
Stir slowly to avoid introducing air when mixing.
❌ Don’t: Overmix your icing — it traps air and leads to pockmarks as it dries.

The Step-by-Step Dipping Process
Here’s your roadmap to perfectly dipped cookies every time:
-
Prep your cookies: Ensure they’re completely cool and crumb-free.
-
Mix your icing: Aim for that smooth, honey-like consistency.
-
Dip: Hold cookies by the edge and dip the top into icing.
-
Twist & lift: Give a gentle twist as you lift to level the surface.
-
Tap: Shake off excess by lightly tapping your wrist or bowl edge.
-
Dry: Let cookies dry flat before stenciling or adding decorations.
-
Next Step: Once dry, decorate with our Airbrushing Systems and Cookie Stencils for professional results.
✨ Final Thoughts
Dipping cookies gives you the same glossy, professional look as flooding — but in a fraction of the time. With the right icing consistency, tools, and a little practice, you’ll create a smooth, photo-ready canvas for stenciling, airbrushing, or hand-painting.
So grab your favorite stencil set, whip up a batch of royal icing, and get dipping!