







CM01
Abstract Tree Gift Wrap Cookie Stencil With Masking Piece
Abstract Tree Gift Wrap Cookie Stencil With Masking Piece
Couldn't load pickup availability


About this item
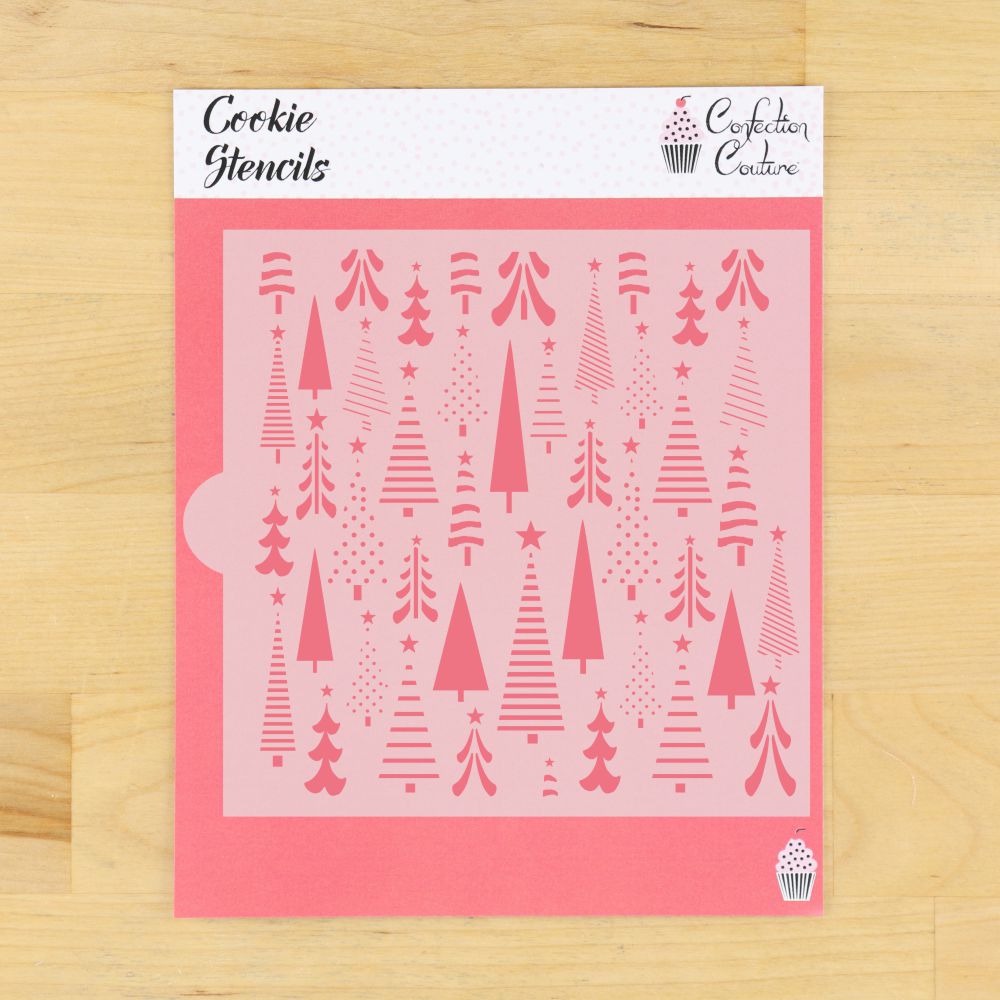
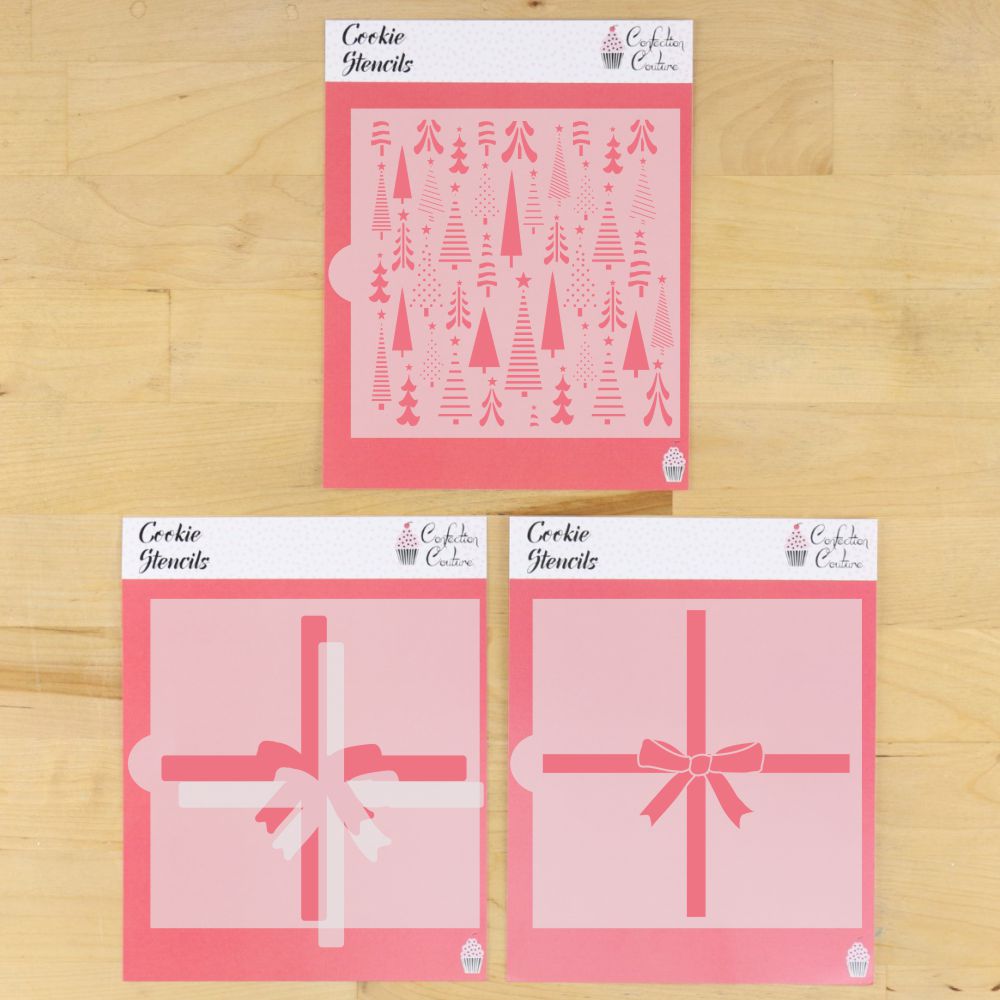
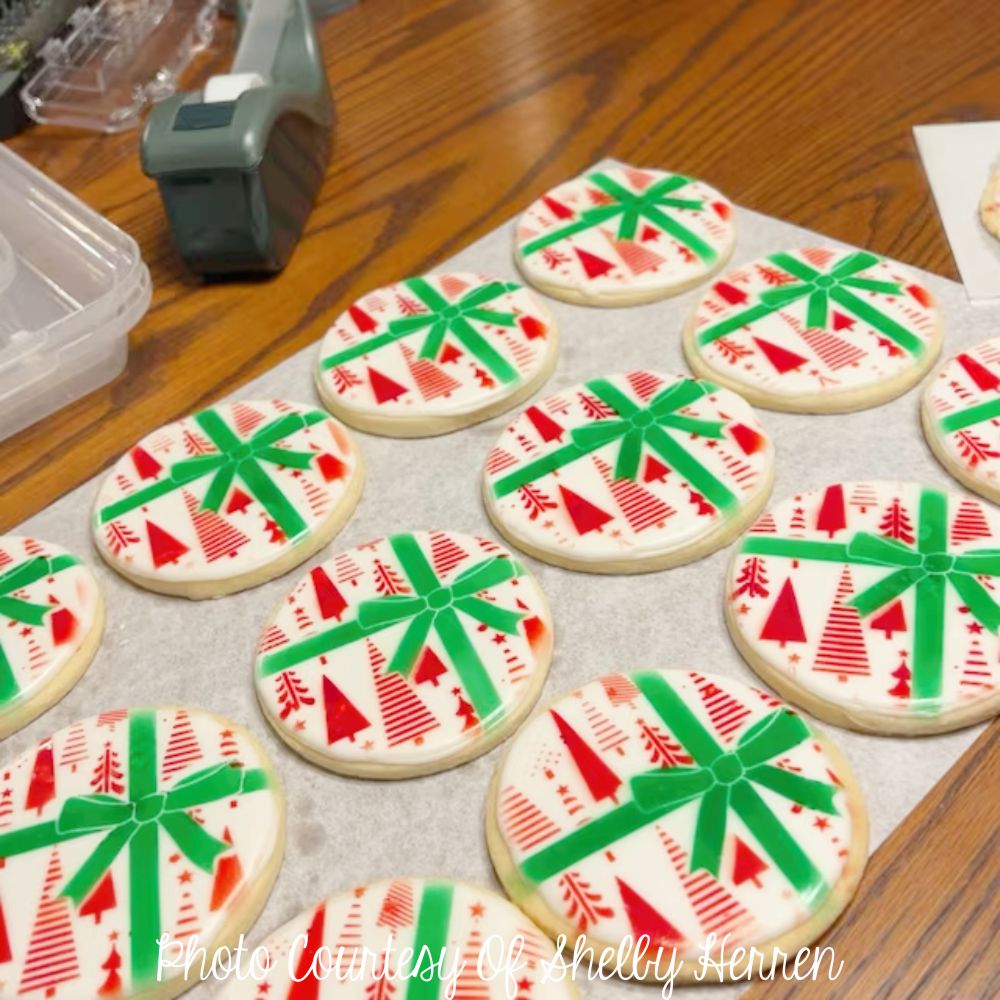
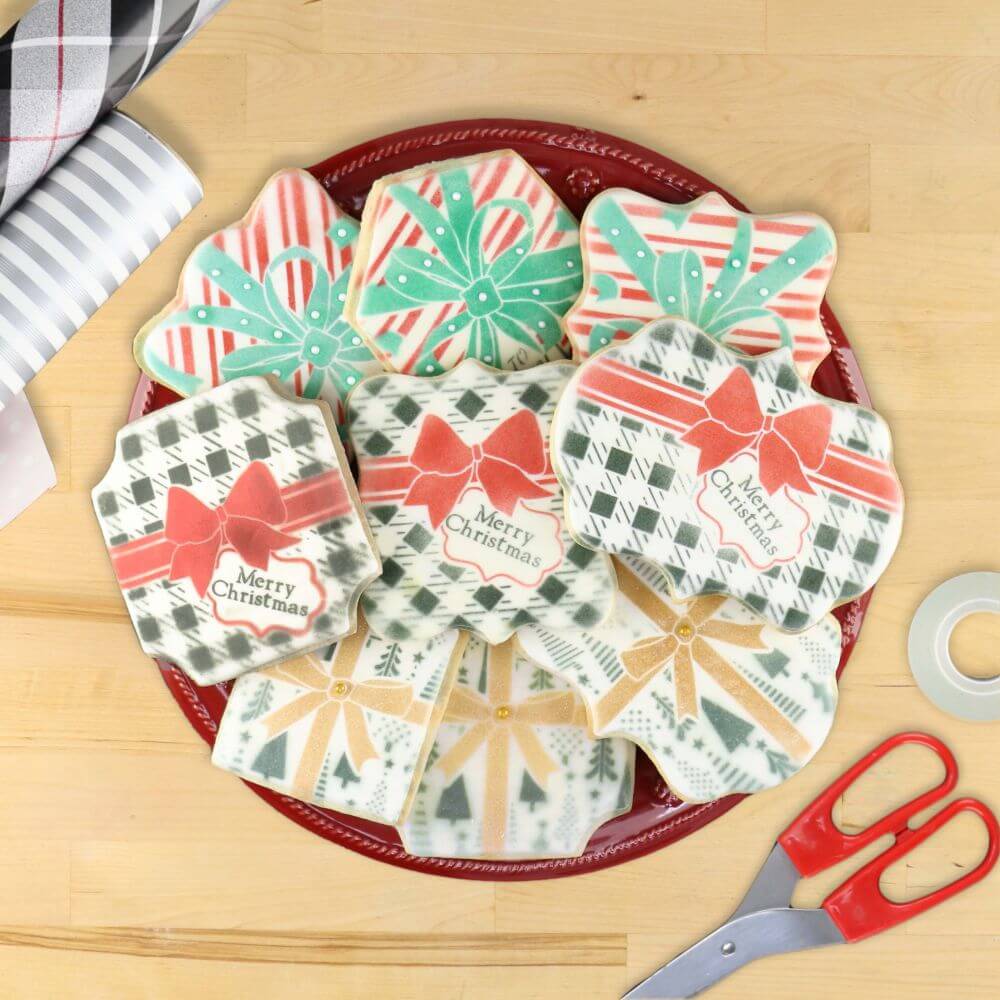
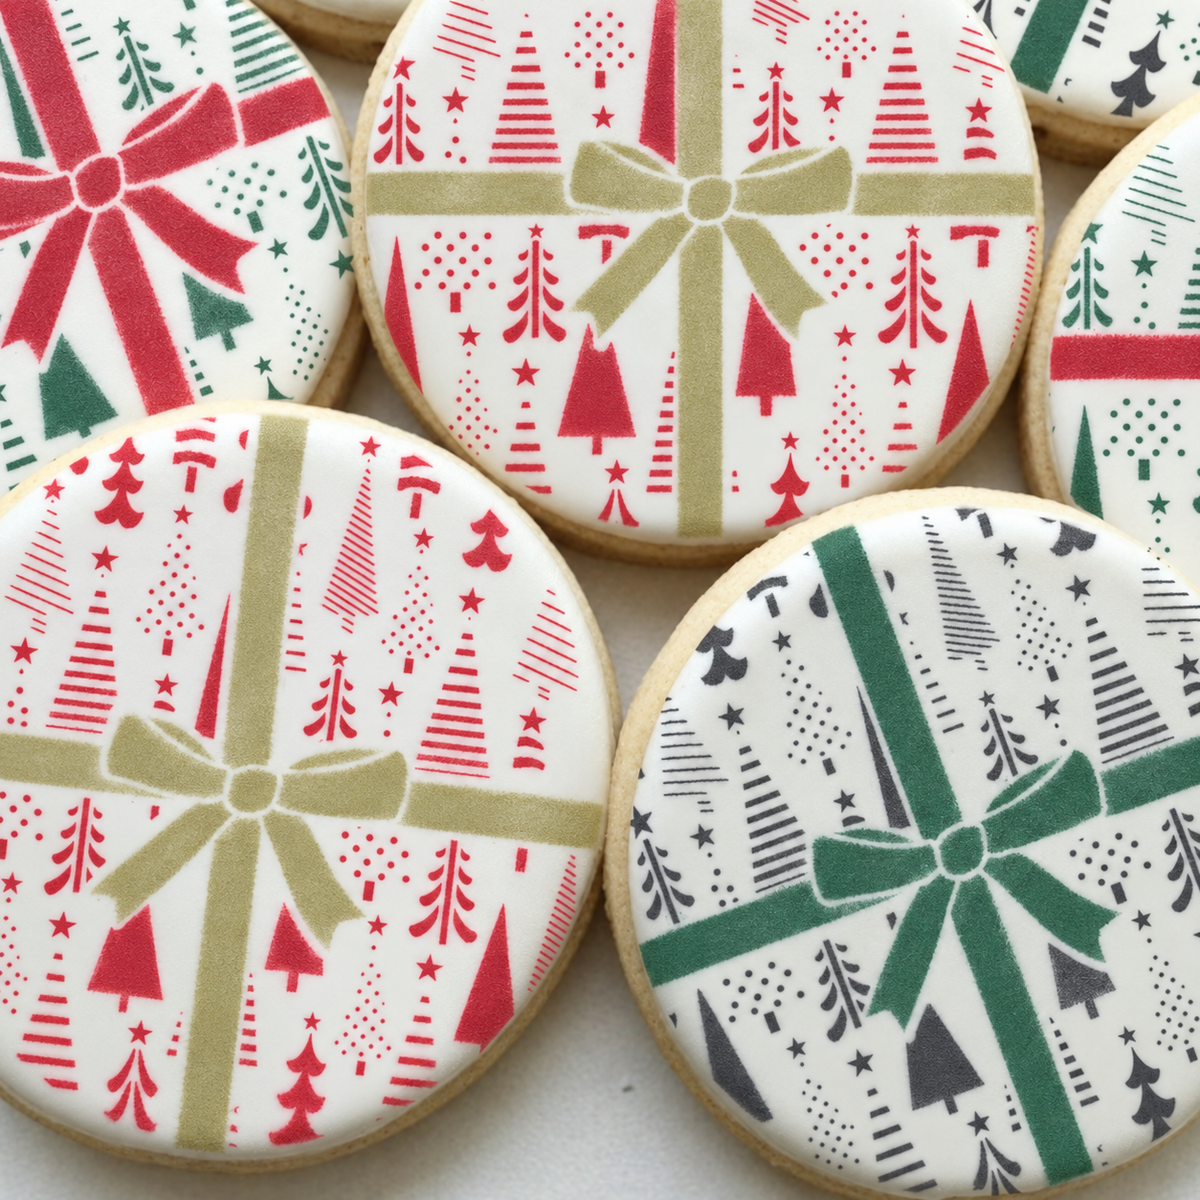
Create cookies that look like a perfectly wrapped gift with this multi-overlay cookie stencil set and masking piece! Use the masking piece to mask off the background where you want the gift bow and tag to be placed on the cookie. Cookies can be given as teacher gifts, stocking stuffers or take to holiday cookie swaps. The bow masking piece and bow stencil can also be used layered on other overall Christmas patterns, or stencil them on top of flooded cookies.
Sizing & Cookie Cutter Recommendations:
We recommend using this design on cookies made with 3 and 4 Inch Square Cookie Cutters to create Christmas Present cookies!
- Background and overall bow: approximately 5" x 5" w.
- Sheet size is 5.5"x 5.875" and fit into a standard Stencil Genie.
⚠️ The larger the cookie, the more bow and pattern reveal you will have. The smaller the cookie, parts of the design may be cropped.
Product Features & Highlights
- Laser-Cut Precision: Made from durable 10 mil food-grade Mylar for clean, consistent lines and long-lasting use.
- Reusable & Easy to Clean: Simply wash with warm, soapy water, air dry flat, and store in a Keep Safe Storage Album for next season.
- Professional Quality: Trusted by cookie decorators and bakers worldwide for superior durability and precision.
- Made in the USA.
How to Use This Set with Airbrushing Technique:
- Place background cookie stencil onto cookie using Stencil Genie and magnets.
- Lay masking piece where you want the ribbon to lay on the cookie.
- Airbrush background using the AirGenie Airbrush System and one of our many DecoPac Airbrush Food Coloring airbrush colorants.
- The shading stencil can be used to shade around the opening blocked off by the masking piece for added interest.
- Remove the masking piece and center the bow overlay within the blank area and airbrush or use royal icing to fill in bow and tag.
If you want to make the bow stand out, use royal icing on this step! Just follow these instructions instead:
- Place background cookie stencil onto cookie using Stencil Genie and magnets.
- Lay masking piece where you want the ribbon to lay on the cookie.
- Airbrush background using the AirGenie Airbrush System and one of our many DecoPac Airbrush Food Coloring airbrush colorants.
- Remove the pieces and let the color dry. Carefully lift off the background stencil and loose masking piece. Let the airbrushed color dry before adding the ribbon.
- Add the ribbon with royal icing. Align the ribbon design stencil with the clear ribbon-shaped area. Spread a thin, even layer of stencil-consistency royal icing over the design, then lift the stencil straight up.
The finished cookie has a flat, airbrushed tree pattern and a slightly raised ribbon that stands out on top.