


CM01
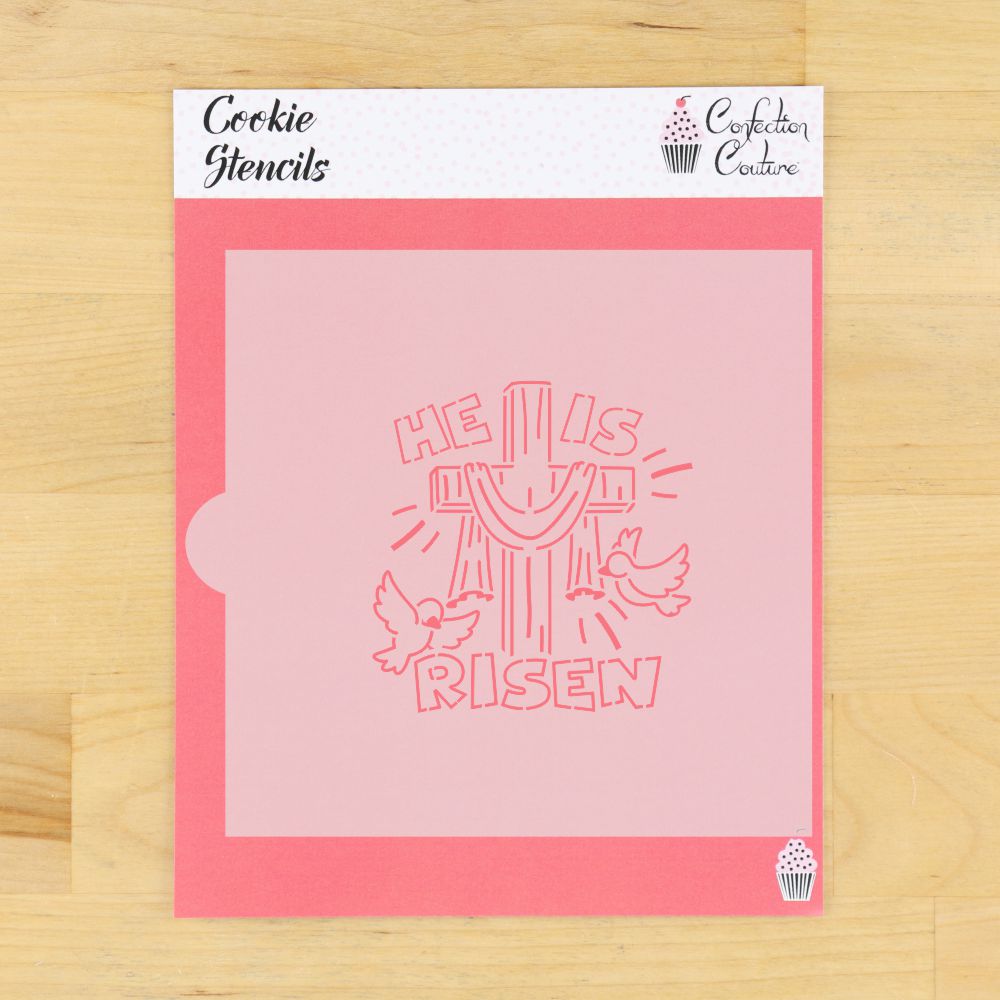
He Is Risen PYO Cookie Stencil
He Is Risen PYO Cookie Stencil
Regular price
$5.99 USD
Regular price
Sale price
$5.99 USD
Unit price
per
Couldn't load pickup availability


About this item
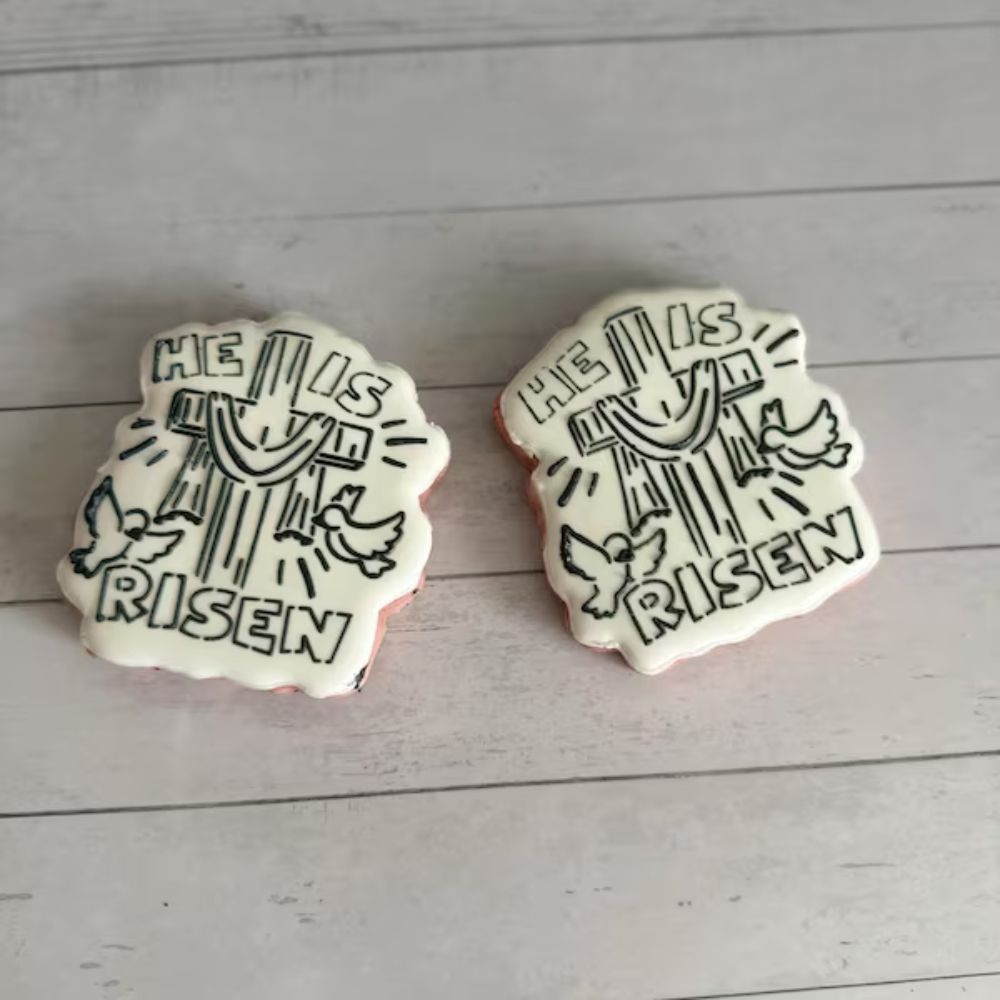
The perfect PYO stencil to make paint your own cookies for Easter Baskets and even Sunday and Bible School classrooms! Easy to use and great for beginners! The kids will love "coloring" their own cookies with an edible paint pallette, make your own paint palette cookies!
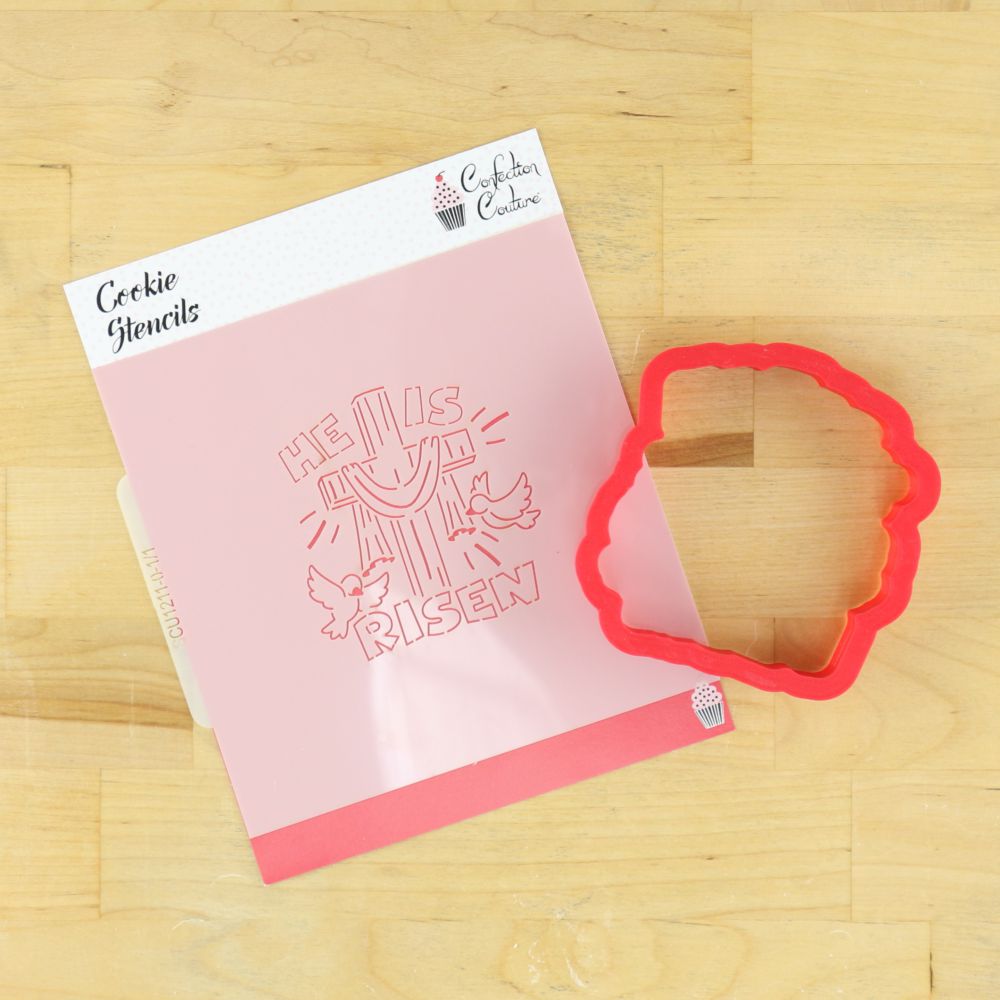
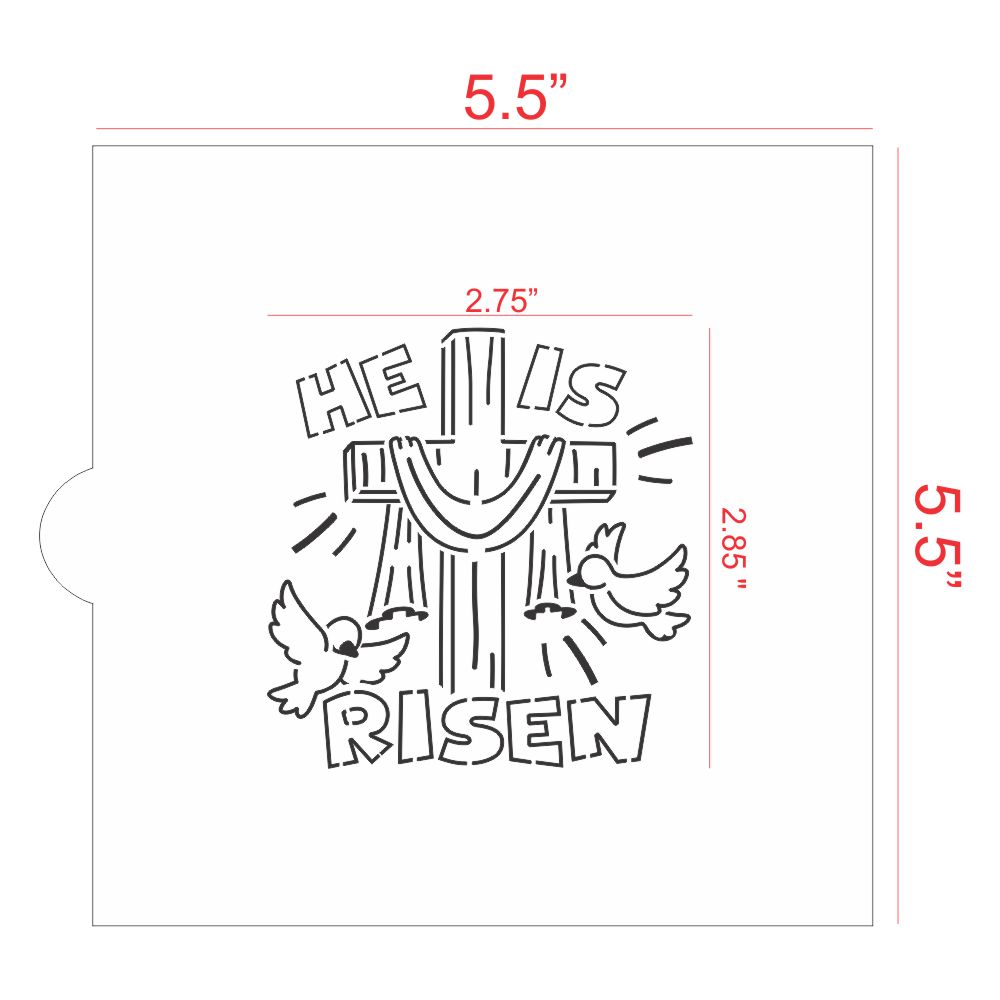
Sizing & Cookie Cutter Recommendations:
Works best when used in conjunction with the matching cookie cutter - otherwise, you will need a larger 4" cookie.
- Message: 2 1/4" h x 3 1/4" w / Matching Cookie Cutter: 2 1/2" h x 3 1/2" w
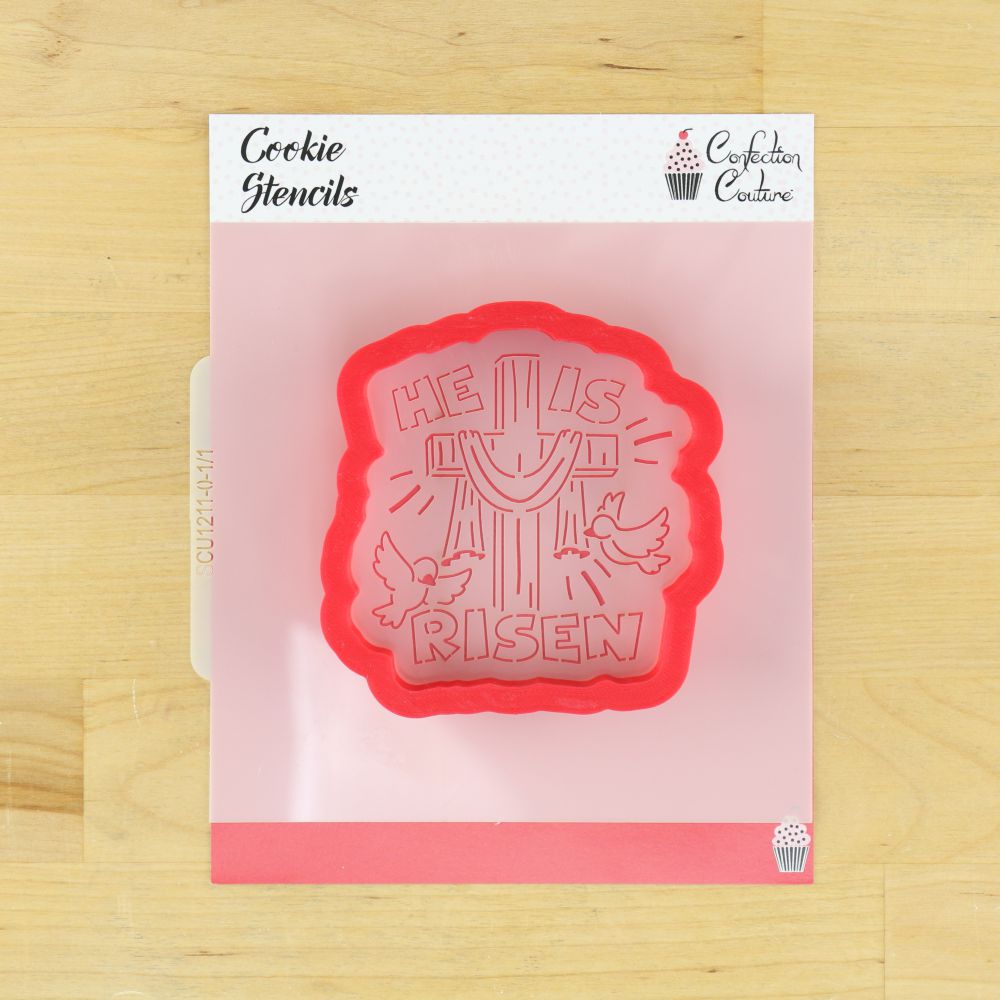
- Sheet Size(s): 5 1/2" and fits within a standard Stencil Genie
Tips for Using this PYO Cutter/Stencil Combo:
- Make sure when smoothing/scraping your royal icing off, you work in one fluid motion - in one direction using either the Icing Genie or our pack of Stencil Scrapers. Make sure the icing is almost level with the stencil itself.
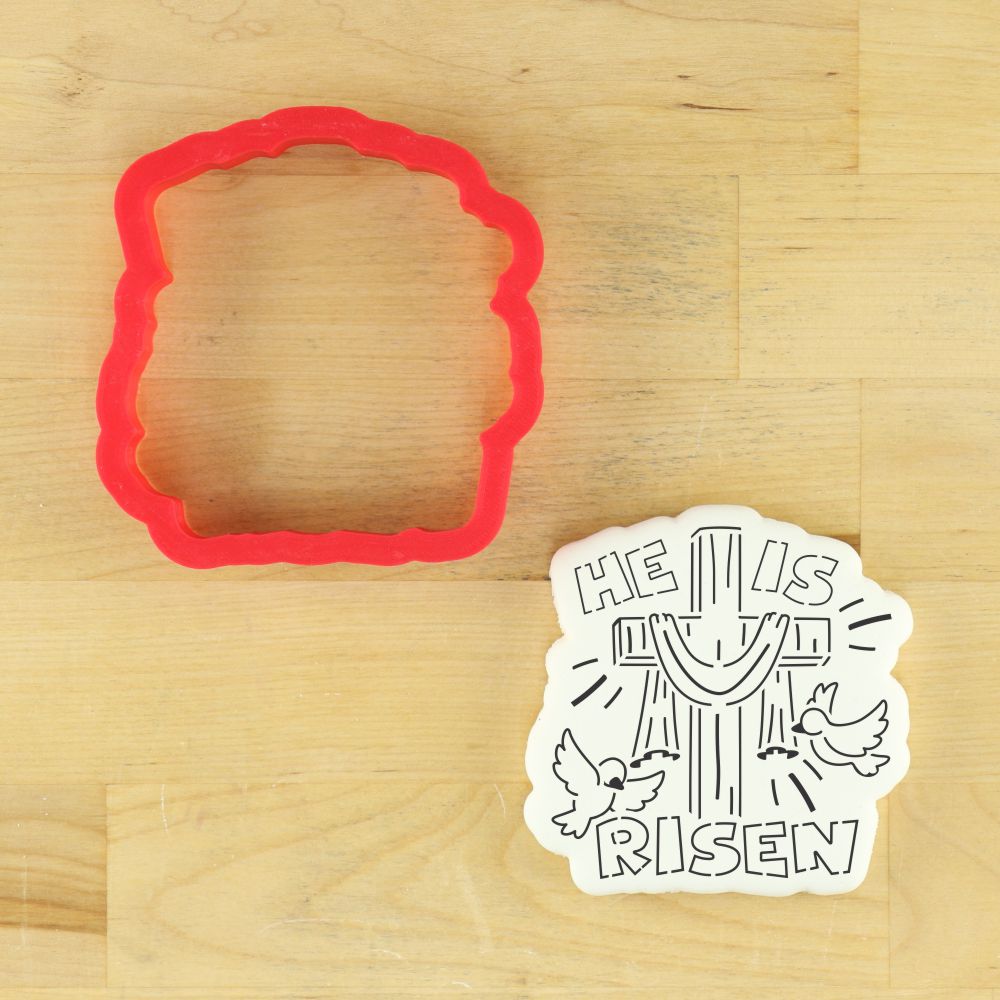
- Create perfect Royal Icing every time with the Dream Meringue Powder and then tint with DecoPac's Premium Gel Colors in black!
-
Check out our tips on how to make PYO cookies
Tips on How to Package Your PYO Cookies:
- When ready to package your PYO cookies, first insert an edible paint palette and a PYO swab in a lip and tape bag and seal. This keeps the palette from transferring onto the cookie.
- Take a flat clear bag & insert your PYO cookie
- Add the sealed bag with the palette and swab into the bag with the cookie (behind the cookie so you can see the cookie - I mean, you took the time to make it so make sure they can see it!)
- Tie off finished cookie bag with a ribbon and you're good to go!
Stencil Highlights & Care Tips:
- 10 mil food-grade Mylar
- Greater durability than standard acetate
-
Works well with both royal icing and airbrushing
- Made in the USA
- DO NOT HEAT PLASTIC
- Cleaning Your Stencil: Gently clean with warm soapy water, taking care not to rip the thin bridges in the cookie stencil. Air dry flat.
- Storage: Make sure stencil is dry, then store in our Keep Safe Storage Album which will keep your stencils clean and damage free until their next use.