





CM01
Christmas Gnome Cookie Stencil Set
Christmas Gnome Cookie Stencil Set
Couldn't load pickup availability


About this item
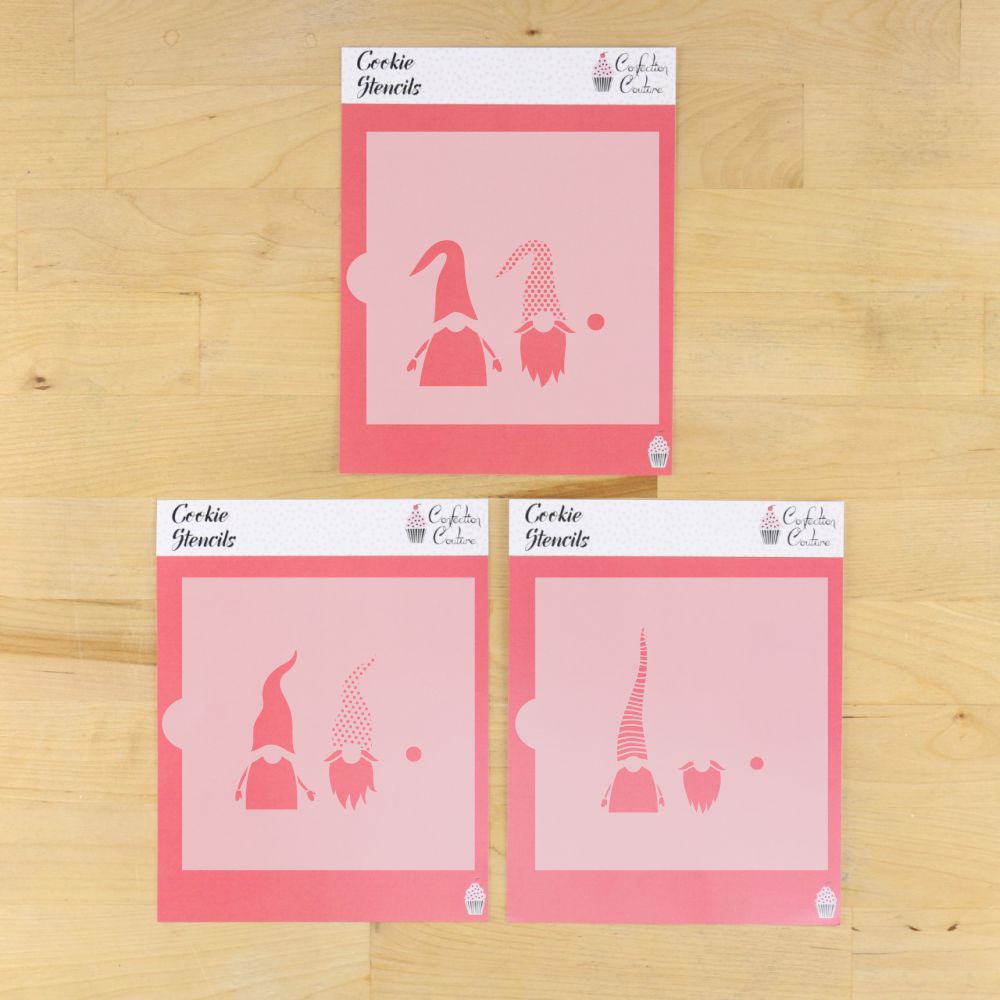
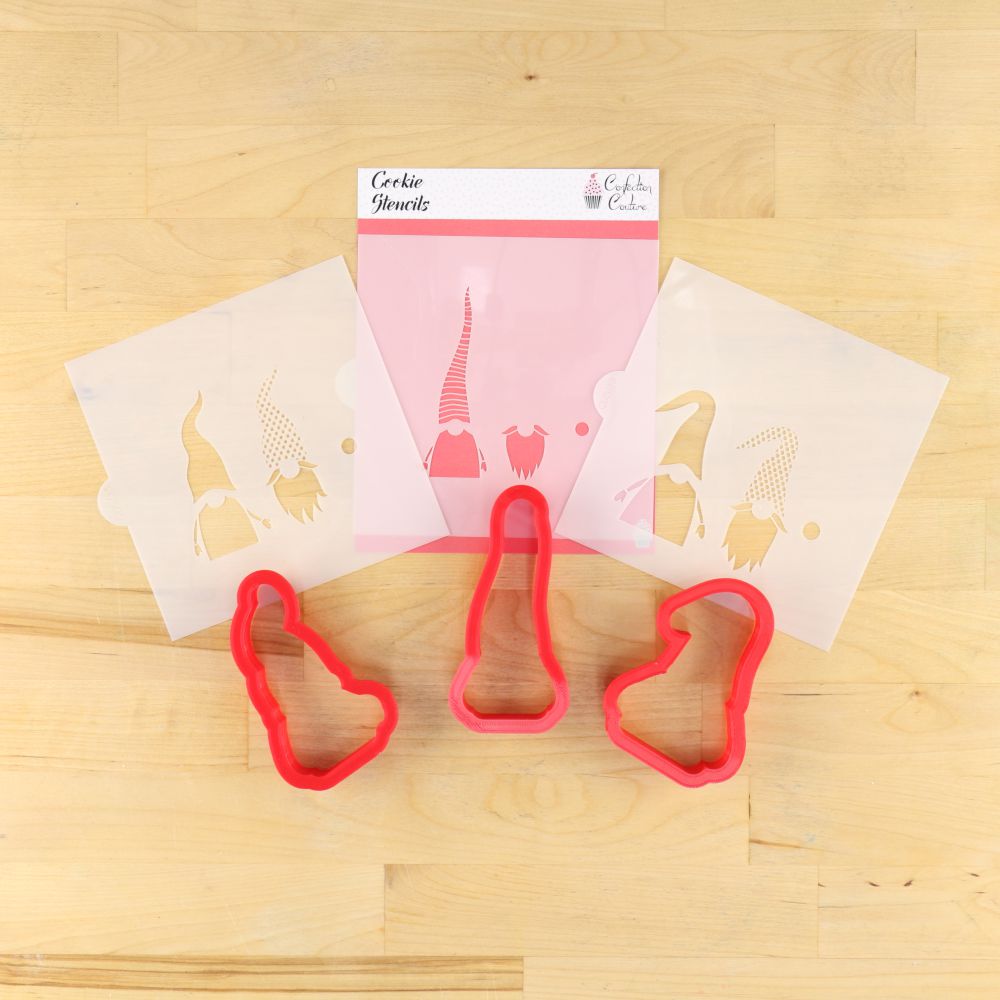
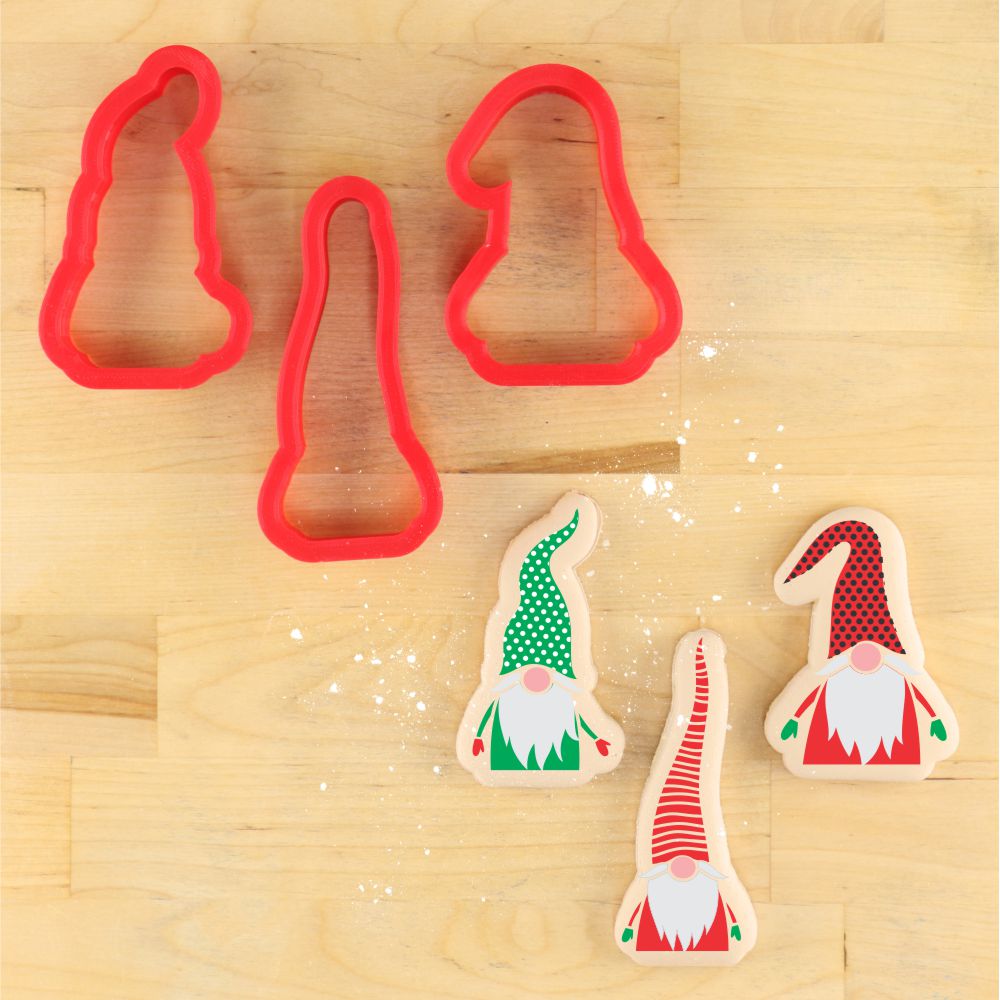
Add a touch of playful cheer to your cookie decorating this holiday season with our Christmas Gnome Cookie Stencil Set from Confection Couture Stencils! This adorable collection includes three unique gnome designs in varying sizes and styles — perfect for creating cookies that are equal parts festive and funny.
Each gnome features layered stencil sections, allowing you to easily achieve multi-colored, detailed designs using royal icing or airbrushing. These quirky gnomes make a delightful addition to Christmas cookie platters, holiday gift boxes, cookie exchanges, and bakery displays.
Looking for inspiration? Check out our Christmas Gnome Cookie Collection Blog for a step-by-step video tutorial and decorating guide!
For step by step instructions and video tutorial on how you can make Christmas Gnome cookies, check out our Christmas Gnome Cookie Collection blog
Sizing & Cookie Cutter Recommendations
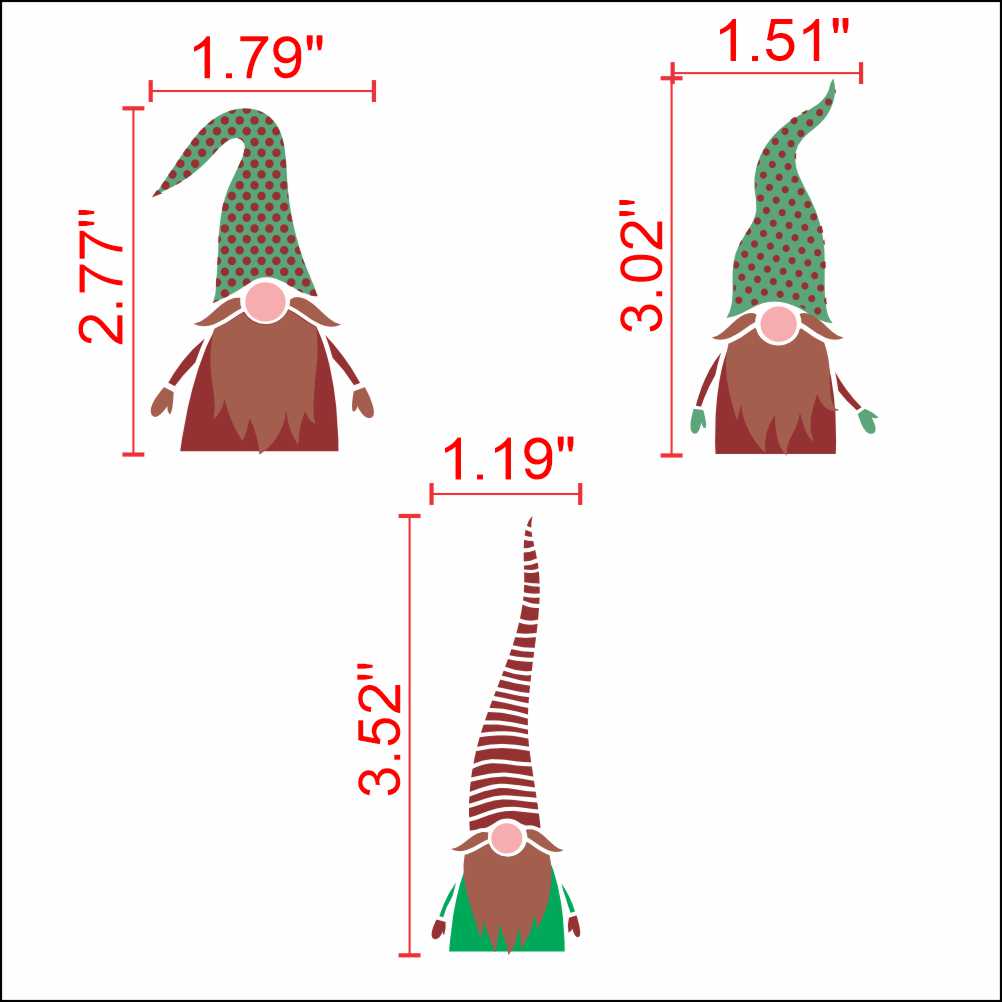
These gnome stencils are designed to pair perfectly with their matching gnome cookie cutters, but they can also be used with other shapes as long as your cookies are large enough. For best results, use a more narrow cookie cutter — try our 2" X 4.5" rectangle cookie cutter
- Gnome 1: 3½″ × 1″
- Gnome 2: 3″ × 1½″
- Gnome 3: 2¾″ × 1¾″
Stencil Sheet Size: 5⅞″ H × 5½″ W — fits perfectly in a standard Stencil Genie.
Product Features & Highlights
- 3 Whimsical Gnome Designs: Each one features a different hat, beard, and pose — perfect for creating variety in your Christmas cookie sets.
- Layered Stencil System: Achieve multiple colors and clean, crisp lines with ease — great for both beginners and experienced decorators.
- Versatile Use: Works beautifully with royal icing, airbrushing, or edible paints.
- Durable, Food-Safe Construction: Made from 10 mil food-grade Mylar, built to last through many festive seasons.
- Made in the USA.
Stencil & Cutter Care
- Cleaning: Gently wash with warm, soapy water. Avoid tearing thin bridges. Air dry flat.
- Storage: Keep stencils flat and dry in our Keep Safe Storage Album to prevent damage.
- Do Not Heat Plastic.
- Cutter Care: Made with state-of-the-art 3D printing technology using food-grade plastic and reinforced sidewalls for long-lasting precision. Hand wash only.
How to Decorate Your Layered Gnome Cookies
Each stencil sheet contains three overlay sections that work together to create one gnome design. Pair each sheet with its matching gnome cookie cutter, and reposition the sheet to apply each section individually.
Option 1: Airbrushing — Our Recommended Method
-
Bake, flood, and dry. Cut and bake your gnome cookies, then flood with white royal icing. Allow the icing to dry completely—preferably overnight—before stenciling.
-
Apply the hat and body. Position the matching hat-and-body section over your cookie. Secure the stencil close to the icing without pressing into it. Mask unused openings and airbrush in light passes with food-safe airbrush color. Mask individual areas if you want different colors for the hat, clothing, or mittens.
-
Add the beard and details. Let the first color dry before repositioning the sheet. Align the beard/detail section with the hat and body already on the cookie. Airbrush the beard and, where included, the hat pattern. Mask between areas when changing colors. For a white beard over colored clothing, use an opaque white airbrush color intended for edible use.
-
Finish with the nose. Once the previous layer is dry, position the small round opening beneath the hat brim and lightly airbrush the nose.
Option 2: Airbrushing + Royal Icing Accents
For a little dimension, airbrush the hat, clothing, and any hat pattern first. Let the color dry thoroughly, then use the beard opening to apply a thin layer of thick, stencil-consistency white royal icing. Mask other openings and gently scrape away the excess. Lift the stencil straight up while the icing is still wet.
Finish with a small piped pink nose. If using the nose opening as a stencil instead, allow the beard to dry completely first and make sure the sheet can sit flat without pressing on it.
Helpful Tips
- Apply one overlay at a time; remove the stencil between applications.
- Let each airbrushed layer dry before aligning the next.
- Keep the stencil’s underside clean and dry to prevent color transfer.
- Complete all airbrushing before adding raised icing details.
- Allow finished cookies to dry completely before packaging.